UPDATE: As of Verison 5.3.1, it will no longer be necessary to check EC2 instance reachability. This functionality has been rolled into the product. This article is still a great example of what it takes to write a CloudBolt plug-in and will be useful in many other scenarios. ~Rick
A common use-case I see frequently is the need to make sure new EC2 instances are up and ready to accept SSH connections before CloudBolt marks the provisioning job as complete. In this article, we’re going to work together to write a CloudBolt plug-in that will add this functionality to our CloudBolt environments. In doing so, I hope you'll not only gain an appreciation for the power of CloudBolt as a cloud automation platform, but you'll also see how easy it is to extend our base feature set using upgrade-safe scripts.
Getting Started
Writing Python code is a relatively painless process that usually starts with a text editor. I use OSX, so I prefer TextMate. If you’re a Windows user, I suggest Sublime Text 2 (http://www.sublimetext.com/2) or Notepad++. Another great option is to use PyCharm for all your CloudBolt plug-in development projects. I plan to expand on this topic in a future article.
Planning Our Attack
Let’s talk briefly about what we want to accomplish with this plug-in: When we provision a VM to EC2 via CloudBolt, we want to wait until that server is finished initializing and ready for SSH access before marking the entire CloudBolt provisioning job as complete. By default CloudBolt marks the job complete once the VM state is set to “OK” by AWS. Unfortunately, this isn’t the full story on the VM's readiness. The “OK” state is set before the VM is initialized and before the user can login via SSH. Imagine your poor users – they just used the awesome CloudBolt platform to spin up a VM, and once their job is “complete”, they get a “Connection Refused” error when they try to connect via SSH – not cool.
To address this issue, we'll extend CloudBolt to wait until our new EC2 instance has passed all EC2 status checks before marking the job as successfully completed. To accomplish this, we’ll trigger an action at the post-provision stage of the “Provision Server” Orchestration Action that will poll EC2 every two seconds to see if our new instance is reachable according to the EC2 status checks. We‘ll implement this action as a CloudBolt plug-in script written in Python.
Starting our Plug-in
Let's start our plug-in with a file called “poll_for_init_complete.py” with the following contents:
The CloudBolt platform knows to call this function when it‘s time to execute the plug-in, therefore it's essential that it exists in your plug-in script. Note that the first and required parameter to this function is called job. This implies that we should expect the CloudBolt platform to call this function with the originating provisioning job passed as a job.models.Job object.
Returning a tuple of ("", "", "") is the default way of communicating to the CloudBolt platform that the script was a success.
Let's Get Busy
Let's add a few more lines to our plug-in script to get the server (our new EC2 instance) from the Job object and wait until it's reachable:
import time
Let's walk through what what we have so far:
server = job.server_set.first() sets the variable called server to the Server object associated with this job. Since we're working with a server provisioning job, it's safe to assume we're only going to have one Server associated with this job, therefore we call first() on our job's server_set property.
We defined a constant called TIMEOUT in our plug-in module and set it to 600. We then use this TIMEOUT at timeout = time.time() + TIMEOUT to set the time at which we should no longer wait for our EC2 instance to initialize. This prevents CloudBolt from waiting indefinitely if for some reason EC2 cannot determine the reachability of our server. Since this is in seconds, we'll stop waiting after a maximum of 10 minutes has passed before marking the job as complete. This should be the exception – not the norm.
We then start an infinite loop that will only stop when either our timeout elapses or we determine that our EC2 instance is reachable with the function is_reachable(server) which we haven't yet defined.
Is it Reachable or Not?
The script above is still missing the implementation of our is_reachable function. Given the server object associated with this job, this function will use the AWS Boto API to determine the reachability status for our new EC2 instance. Note: Boto is the name of the Python API used to access the AWS API.
Let's add our is_reachable function to our script above our run function:
import time
Let's step through this function step-by-step:
-
instance_id = server.ec2serverinfo.instance_id
Get the EC2 instance ID associated with our new server being provisioned through CloudBolt. This is a string that looks like i-2423c494 in the EC2 console. -
ec2_region = server.ec2serverinfo.ec2_region
Get the AWS region into which our new EC2 instance is being deployed. -
A few CloudBolt platform API gymnastics to get the backing Boto API objects without specifying any credentials. Always keep credentials out of your scripts!
rh = server.resource_handler.cast()rh.connect_ec2(ec2_region)wc = rh.resource_technology.work_class -
instance = wc.get_instance(instance_id)
Get the Boto Instance object associated with our new server's instance ID. -
status = instance.connection.get_all_instance_status(instance_id)
Using the connection associated with our Boto Instance object, return the instance status for our server. -
return True if status[0].instance_status.details[u'reachability'] == u'passed' else False
If the reachability status for our server is “passed”, return True because our new server is now reachable. If not, return False. We use status[0] because our get_all_instance_status function above returns an array. In this case we're only asking for the status of one instance, so we know the array only has one Status object and thus we use status[0].
Going back to our loop you can now see how the is_reachable function is used to keep the loop going if the answer is false:
If our server is NOT reachable, and our timeout hasn't expired, we wait two seconds and try again.
Putting it All Together
The complete script can be downloaded from cloudbolt-forge. 
Now that it's ready, let's add it to the appropriate trigger point in CloudBolt.
In your CloudBolt instance, navigate to Admin > Actions > Orchestration Actions and click “Provision Server” on the left tab bar. Find the “Post-Provision” trigger point at the bottom of the page and click the “Add an Action” button.
Select “CloudBolt Plug-in” and in the next dialog, click "Add new cloudbolt plug-in".
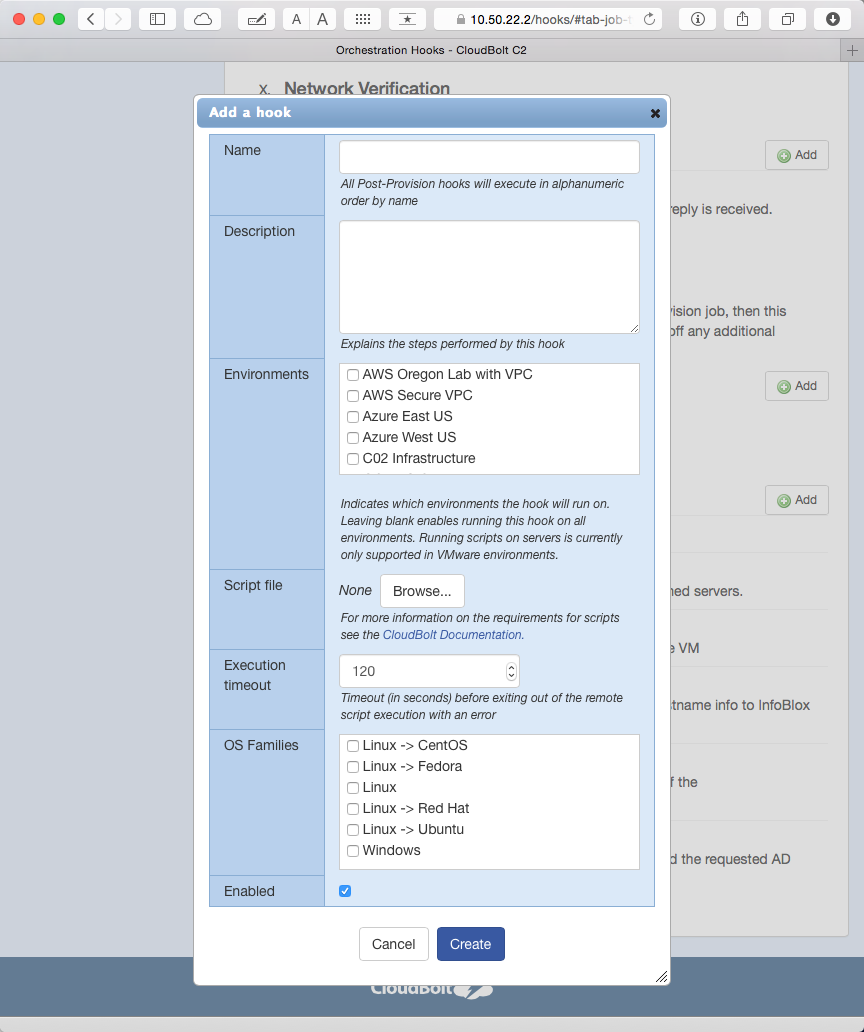
Specify a name for our new plug-in (Poll for EC2 Init Complete), select the "Amazon Web Services" resource technology, browse to your script, and click "Create". Selecting the "Amazon Web Services" resource technology ensures this plug-in only runs against AWS resource handlers that you've defined and not others to which this plug-in is not applicable.
Give it a try
Provision a server to one of your AWS-backed CloudBolt environments. Watching the job progress, you'll see that the job is not marked as complete until the server is fully reachable and SSH access is available.
Questions? Comments? Concerns?
Don't hesitate to reach out to me (rkilcoyne@cloudbolt.io) or any of the CloudBolt Solutions team for help!


